
Before you start
- The tenant added, with a working email address
- The rent, deposit and lease dates
01
Create the agreement
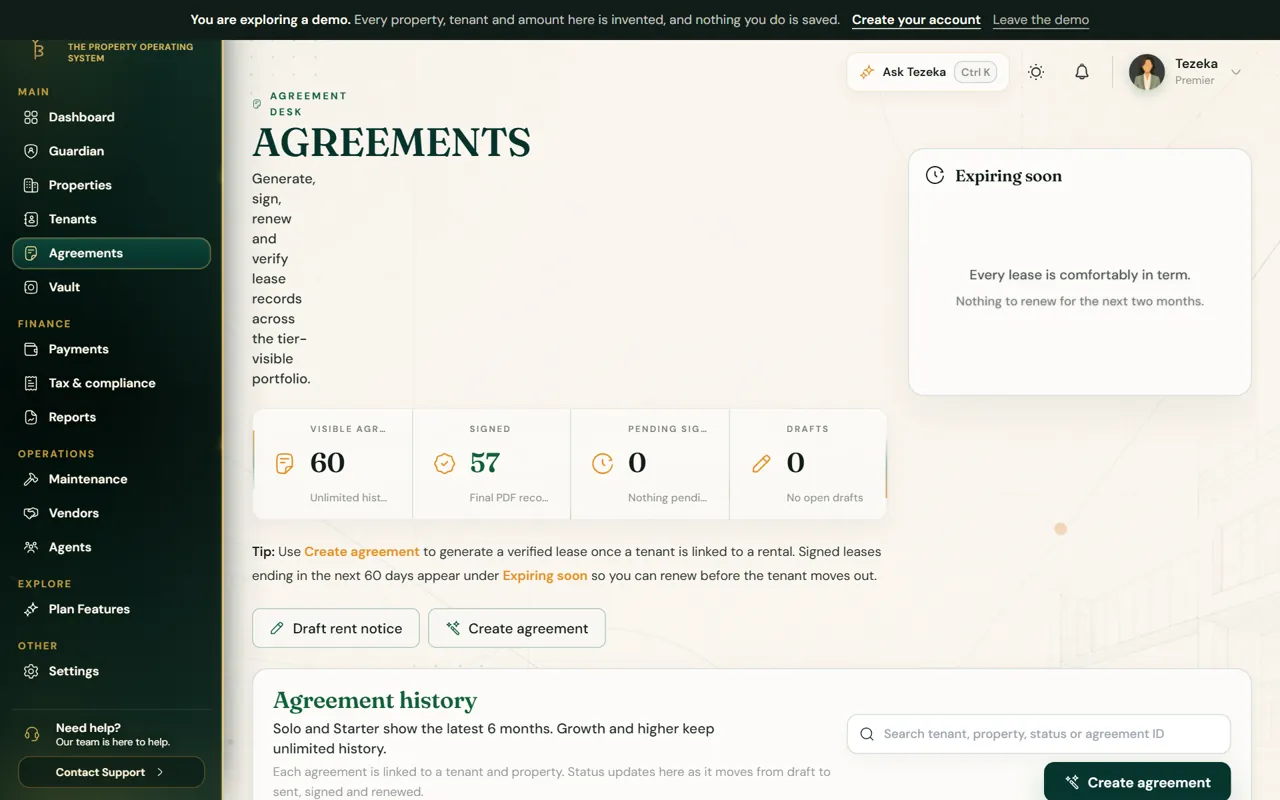
- Open Agreements and choose Create agreement.
- Pick the property and the tenant.
- Set the rent, frequency and lease dates. Use the Tezeka template or your own wording. With your own wording, Tezeka vouches for the signing and the file, not for the terms.
02
How the tenant signs
- Send the lease. The tenant gets a private link.
- They go through three steps on their phone: Verify, Review and Sign.
- At Verify Tezeka emails them a code that works for ten minutes, with five tries.
- Once they sign, the signed PDF is stored with the agreement and in your Vault, and the tenancy becomes active.
03
Checking a signed lease later
Every signed lease carries a document ID and a QR code. Anyone you share it with, a bank or a lawyer for example, can check on Tezeka's verification page that it exists, when it was signed, and that the file has not been altered.
NoteTezeka records who signed and when, and proves the file is unchanged. Whether a lease meets a legal requirement is a question for a qualified adviser.
If something goes wrong
The tenant did not get the signing code.
The code goes to the email on the agreement. Check the address is right and ask them to look in their spam folder.
I need to change a signed lease.
A signed lease is sealed and cannot be edited. Create a new agreement for the new terms; the old one stays on record.
Still stuck? Contact support.